Showing posts with label Recipes. Show all posts

Thursday, September 1, 2011

Whole Wheat Spaghetti with Lemon, Basil, and Salmon - Giada

This recipe from Giada inspired me to make a similar dish for my daughter minus the salt.  

Here's the adult version:


Whole Wheat Spaghetti with Lemon, Basil and Salmon by Giada
Here's the baby food version:


Here's my version of Giada's recipe:


  •  8 oz of of whole wheat Spaghetti


  • 2 cups of Spinach  ( I use more since spinach is good for you)
  • 0.5 cup of basil  ( you can use more if you want more flavor)
  • 0.5 lb of Salmon (cubed)
  • 2 cloves of garlic (sliced)


  •  Steam the Spinach along with half of the garlic.  Should only take a few minutes.  Don't over steam!


  • Boil the spaghetti.  After it's been drained toss in the steamed spinach along with garlic


  • Steam the salmon with rest of the garlic and basil for flavor

  • After salmon is cooked toss in with the spaghetti and spinach.  
  • Squeeze half a lemon.  


  •  Put pasta in your food processor and blend depending on how chunky and smooth your baby is able to swallow.  
  • You are done!
                             

Thursday, August 25, 2011

Avocado Shake

I know for some of you, avocado shake may sound a little weird.  Believe it or not in Asia and Brazil, this delicious treat is very popular.  Here in California, you can order it in some restaurants...since avocado is very abundant over here.  Growing up, my mom would make us this avocado dessert with
  • 3 medium ripe Avocados
  • 2 scoops of Vanilla Ice Cream
  • 3/4 cup Condensed Milk
  • 3 cups Ice Cubes
  • 1 Cup Milk
  • Sugar to taste (Optional)


Sometimes she would serve it without the vanilla ice cream and just add sugar to sweeten the shake.  Either way...it's very yummy.  Just throw all the ingredients in a blender!


Well growing up drinking avocado shake, I decided to make a baby version for my Prince but in puree form.

  • half rip Avocado
  • 1 tbspn of breastmilk (you can add formula if you want)
  • 1 tbspn of ripe banana or sweet apple (this will add the sweetness to the Avocado)

After you puree the avocado and the banana,  add some breast milk/formula to make the mixture more smoother and thinner.  This can vary depending on how you want it.

So now you and your baby can enjoy this dessert during the summer!  Enjoy!

Thursday, August 18, 2011

Rosemary Chicken w/ Veggies

My daughter is a year older so that means more taste and variations are needed in her daily menu.  Now I  get inspired by adult food to create her meals.

This week's recipe of Rosemary Chicken with Veggies was inspired from this adult version:


Rosemary Chicken w/ Veggies:
(This makes 10 oz. ~ 2.5 servings for my daughter)

  • 0.50 lb of chicken breast (I usually get the organic kind from Whole Foods)
  • 3 sprigs of Rosemary (Figured this will be steamed so the more the better for taste)
  • 1 cup of frozen corn, carrots, peas, and green beans (Again, I got the organic bag from Whole Foods) 
  • Steam for 20 minutes
  • After everything is cooked you can puree until smooth or chunky depending on your little one's ability to chew food.
  • When everything has been pureed immediately put extras in freezer


I usually cube the chicken.  Ignore the 2 pieces that aren't cubed on the far left.  Those are for my dog.  


Here, I add 3 sprigs of Rosemary over the chicken.


Then fill up the tray with frozen veggies.


After 20 minutes everything is cooked and ready to be mixed!  Above is the final product.

Thursday, August 11, 2011

Apricot Puree

Although I've only made apple puree and baby avocado shake for my son, I find making baby food fun.  Sure I don't have time to cook meals for my husband and myself, but for some reason finding time to make baby food always happens.  This week I tried making apricot puree.  I recently got a box of apricots from a friend of mine who has an apricot tree in her front yard.  Mama B and I decided to split the box and make baby food with it.  Since my son just started solids, he is still in Stage 1 so I just made apricot puree.  It's pretty straight forward and all you need are
  • Apricots


  • Steamer (I use my rice cooker)

  • Food Processor (I use my Cuisinart hand held blender)
I simply cut the apricots in halves, take out the pit, and place them in my steamer basket
I love the gorgeous orange color.
I steam the apricots for about 15-20 minutes.  It really depends on your steamer and how hot it gets. Once the apricots are soft and tender they are ready.  Let them cool and begin to peel the skin off. After you peeled the skin off, the apricots are ready for puree!

Tender Apricots, cooling for peeling
Peeled Apricots
Ready to be Puree

Chopping the peeled apricots

 Ready!!
Yummy! Perfectly sweet.
A quick taste test and it's ready!  Perfectly smooth and sweet for my Prince.  Any extra Apricot Puree I have I store using the Munchkin Fresh Food storage cups and immediatly put them in the freezer!

Thursday, August 4, 2011

Penne for Baby

Before going further I want to add this is baby food Stage 2.

I made this recipe last week for my daughter.  She loves it!  I also love it (which was odd since I personally dislike peas)!  Seriously, if she didn't finish it I probably would have eaten it.  Remember, if you can't  eat your own baby's food, then why would you expect them to? 

My simple version of baby pasta recipe :
  • 2 handfuls of pasta (I use whole grain organic penne pasta.  My favorite pasta is penne pasta)
  • 3 tomatoes (cut slices)
  • 1 chicken tender (I use organic chicken. The pic shows 2 because 1 was for my dog)
  • 1 clove of garlic (cut up)
  • 1 handful of peas
Clockwise: Chicken,  tomatoes, peas, garlic


I placed the penne pasta in the rice cooker along with water.   I do not add salt to the water. 
Here, I place all the other ingredients on the steam rack.  I know when it's done when I see the tomato's skin start peeling.
All ingredients in the rice cooker have been pureed.  Baby food is done!

Thursday, July 28, 2011

My 1st Puree

I'm starting solids with my little guy.  He's been eating rice cereal 3-4 weeks now, so I think it's time for some puree food.  I've been going back and forth to which one to expose him to...it will be the first puree food he is going to eat...so  I want to make sure he enjoys it.  Of course as a new mother you ask around, so that's what I did.  I was curious what other mother's chose as their baby's first puree food.  I even asked Mama B for some advice.  So which one did I choose...was it apple, banana, or avocado...hmmmmm. 

I ended up giving my son Red Delicious apples as his first Puree.

3 washed Red Delicious Apples
Here's the recipe, it's fairly simple and straight forward:

Placed quartered Red Delicious apples in a steamer.  I use my rice cooker to steam the apples

Quartered apples placed in the steamer basket

Once apples are tender, I let the apples cool. 

Tender Apples cooling


After the apples have cooled I remove the skin and puree it using my Cuisinart hand blender.

Puree Apple

I do a quick taste...delicious!  and it's now ready to serve.  Like Mama B, I place my purees in Munchkin's Fresh Food Freezer cups for storage.  Prior to serving, I usually mix in a little bit of breast milk.
Puree Apple in Munchkin's Fresh Food Freezer cups ready for storage.

Thursday, July 21, 2011

My Mini Teddy Pies!!


Initially I was going for mini pie pops, but it didn't work out too well so I ended up just making mini pies.  For some reason, I had a difficult time keeping the stick in the pie.  After I baked the darn mini pie pops, let them cool, and hold them up...the stick would just slide off to the side.  What gives??!!  If any of you have any suggestions why the stick is sliding off please let me know.  I didn't want all my work and time go to waste so I decided to write about making mini Teddy pies instead.  You will also notice the pictures aren't the greatest quality.  I realized I had left my camera at work after I had peeled the 3 apples so I took the pictures using my iPhone. 

For the filling, I used Paula Deen's Apple Pie Filling recipe which can be found on the Food Network website.  Because I was using the filling for mini-pies I cut the recipe in half and also made sure to chop the apples in smaller pieces.

Ingredients

  • 3/4 cup light brown sugar
  • 1/4 cup all-purpose flour
  • 3/4 teaspoon ground cinnamon, plus more for sprinkling
  • Freshly ground nutmeg, to taste
  • 7 medium apples, peeled, cored and thinly sliced 
  • 1 lemon, zested and juiced
Preheat oven to 450 degrees F.
Mix together the brown sugar, flour, cinnamon, and nutmeg in a small bowl. In another bowl, sprinkle apples with the juice of 1 lemon and toss. Stir in the sugar mixture to evenly coat the apples.

For the Pie Crust you can use ready made pie crust (like I did) or if you have the time, you can try Paula Deen's Pie Crust recipe below. 

Paula's Perfect Pie Crust:

  • 2 1/2 cups all-purpose flour
  • 1/4 teaspoon fine salt
  • 3 tablespoons granulated white sugar
  • 1/4 cup vegetable shortening, cold
  • 12 tablespoons butter, cold and cubed
  • 1/4 cup to 1/2 cup ice water
In a large mixing bowl, sift together the flour, salt and sugar. Add the shortening and break it up with your hands as you start to coat it all up with the flour. Add the cold butter cubes and work it into the flour with your hands or a pastry cutter. Work it quickly, so the butter doesn't get too soft, until the mixture is crumbly, like very coarse cornmeal. Add the ice water, a little at a time, until the mixture comes together forming a dough. Bring the dough together into a ball.
When it comes together stop working it otherwise the dough will get over-worked and tough. Divide the dough in half and flatten it slightly to form a disk shape.

Once your dough is ready..start rolling and cutting! 


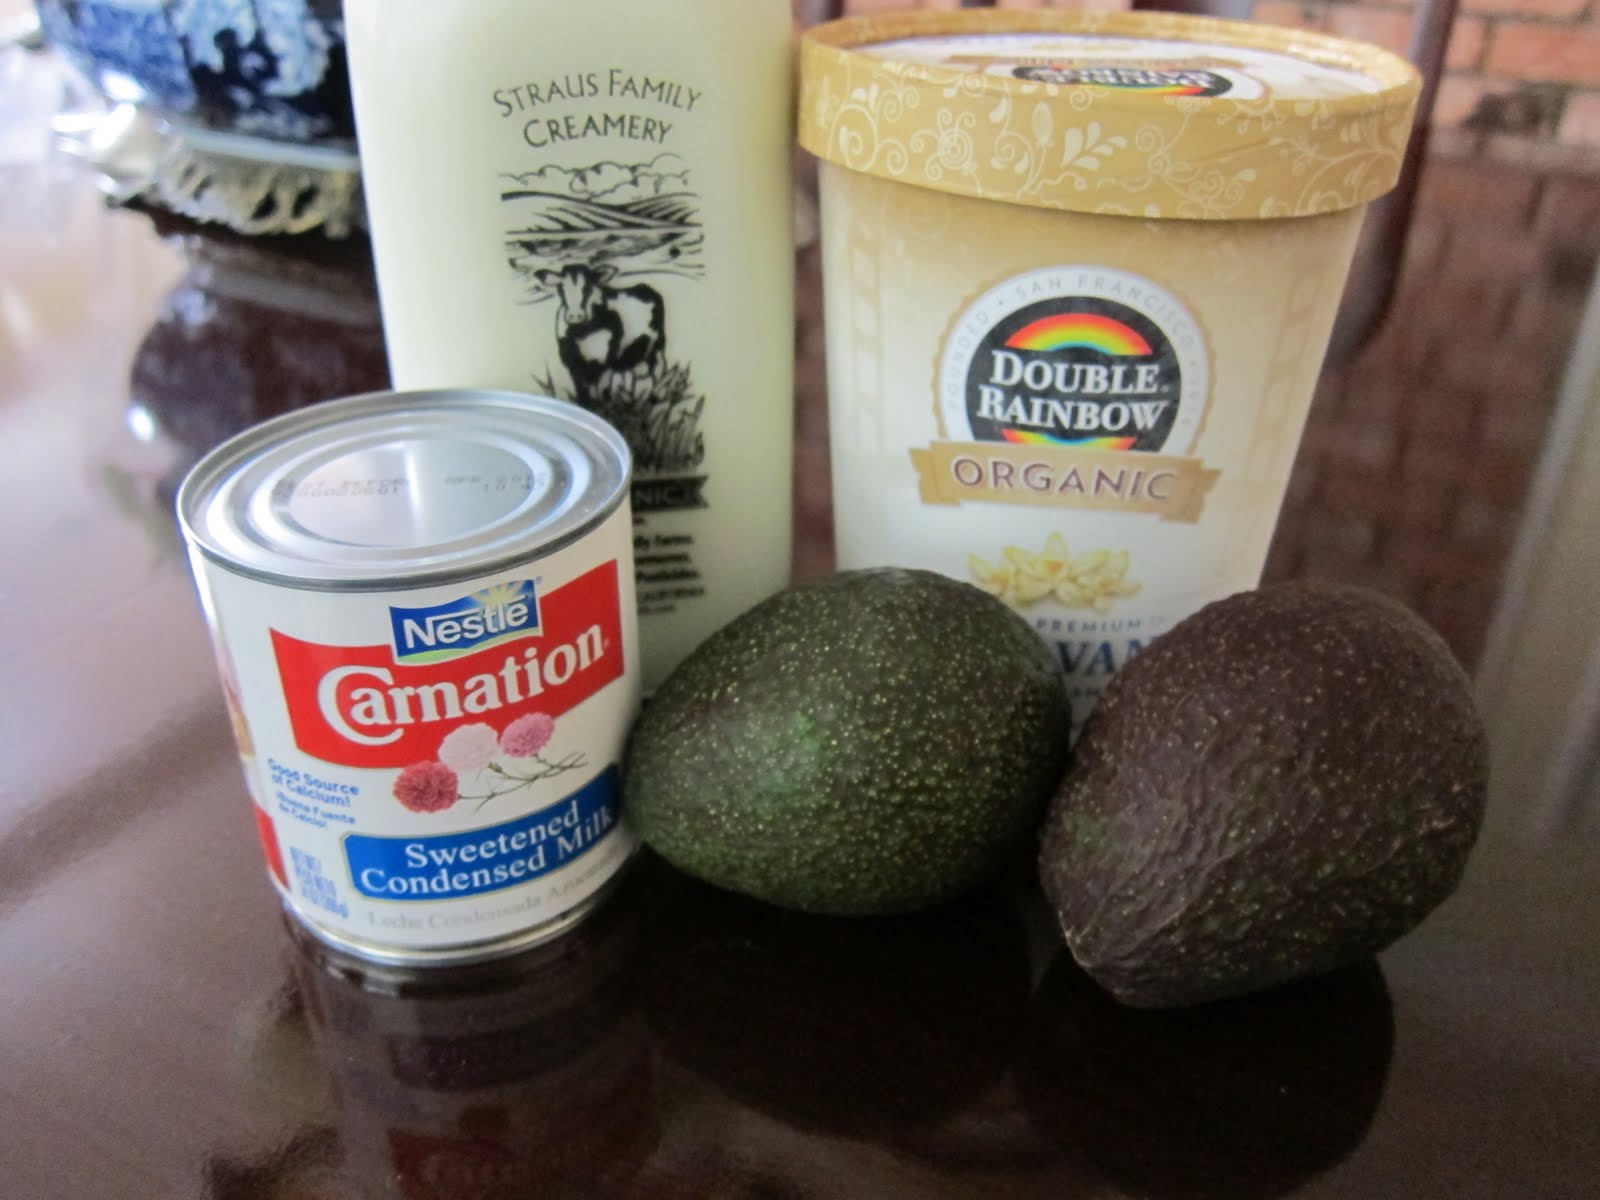
Ingredients (BTW, I ended up using PAM instead of butter)

Peel Three  Granny Smith Apples

Cut Apples in little chucks.  Remember small enough to fit in the mini pies!
Add in the sugar/flour mixture with the apple/lemon mixture

Take your pie crust lay it out

Begin cutting your shapes!

Fill each mini pie with the Apple filling

Add the tops to them

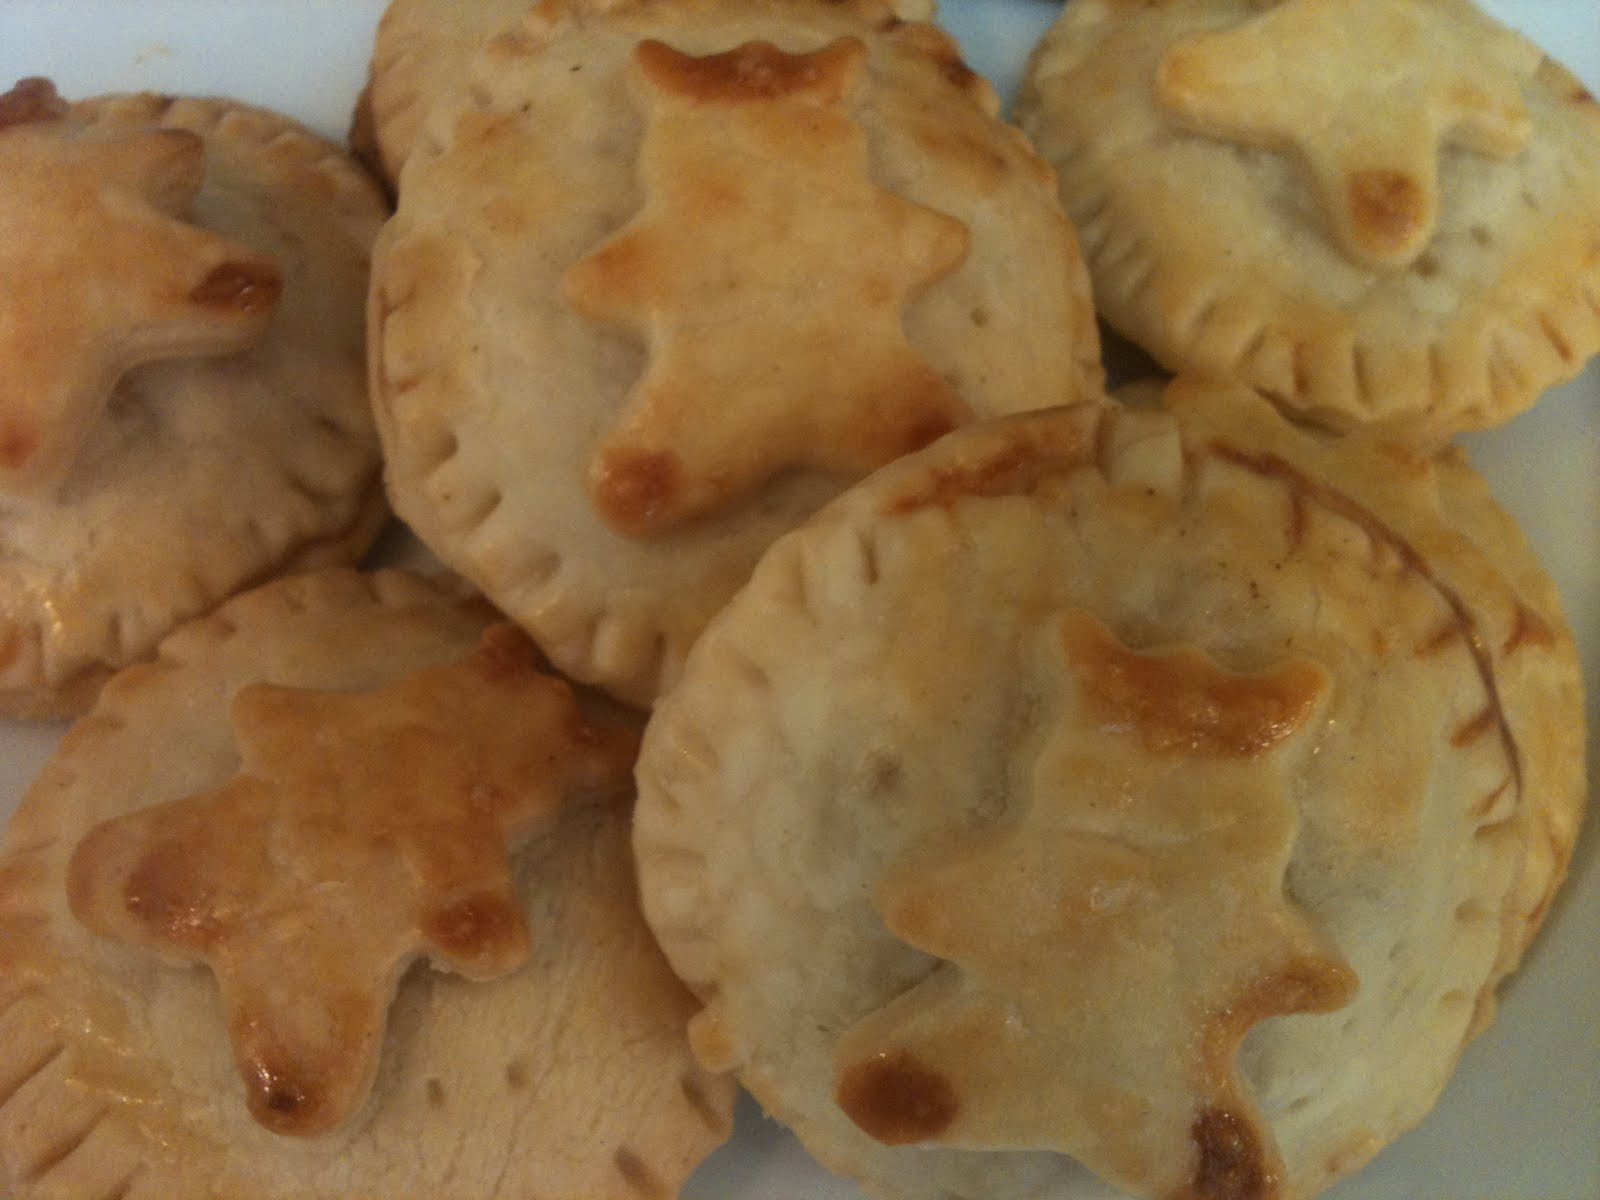
Add Teddy Bear over the tops, aren't these cute!!

Rest of the Teddy Pies!  Don't forget to PAM the pan, in my case the foil.


Add some egg wash on top of each mini Teddy pie

Use a Fork to prick a few holes on the side

 Sprinkle some cinnamon and sugar on top!Yummy!!! mini Teddy pies!!

Thursday, July 14, 2011

An Apple a Day Keeps the Doctor Away

My sister today told me her coworker asked if we have baby food recipes.  I told her we can start adding some to the blog, so here are 2 recipes  I made on Monday for my Cupcake using apples.

Making baby food is simple.  All you need are:
1.) steamer
2.) mixer
3.) containers to hold the baby food.
4.) peeler
5.) knife
6.) spoon

For items 1 to 3, I use the followiing:
  •  rice cooker w/ a steam rack.  (I use a rice cooker because I cook in batches)
  • Cuisinart
  • Munchkin baby food containers
The hardest part is probably prepping and cleaning. 

Recipe One:  Peas, Corn, and Gala Apples 
  • 1/2 cup of frozen organic peas
  • 1/2 cup of frozen organic corn
  • 2  Gala Apples (sliced in cubes)
  • 1/4 cup of baby water (This is just to make it less clumpy, so add to your liking)
(This makes 2 servings for my daughter who eats 4 oz. each meal and is now 11 months old)

I place all ingredients on the steam tray of the rice cooker.  Cook until fork can easily go through the apple slices ~ 15 min (w/ my rice cooker).

Puree peas, corn, and apples

Recipe 2:  Butter squash, roman tomatoes, and Pink Lady Apple
  • 2 roman tomatoes
  • 1/4 butter squash
  • 1 Pink Lady apple (These aren't sweet as the Gala apples.  They are a bit sour)

This makes 2 servings as well...so 8 oz total.

My Cuisinart (gift from my mom just to make baby food), Munchkin baby food containers, peeler, knife, spoon,  and ingredients.

Place ingredients in steam tray of rice cooker.   Cook until squash and apples are soft.  Tomato skin will come off so it's easy to remove afterwards.


Finished product!

Afterwards, I immediately place the food containers in the freezer to preserve the nutrients.  Never microwave baby food before serving, since food is often heated unevenly.